Shrimp farming is growing in popularity because of its potential and large market demand. Shrimp have high economic value both in the local and export markets.
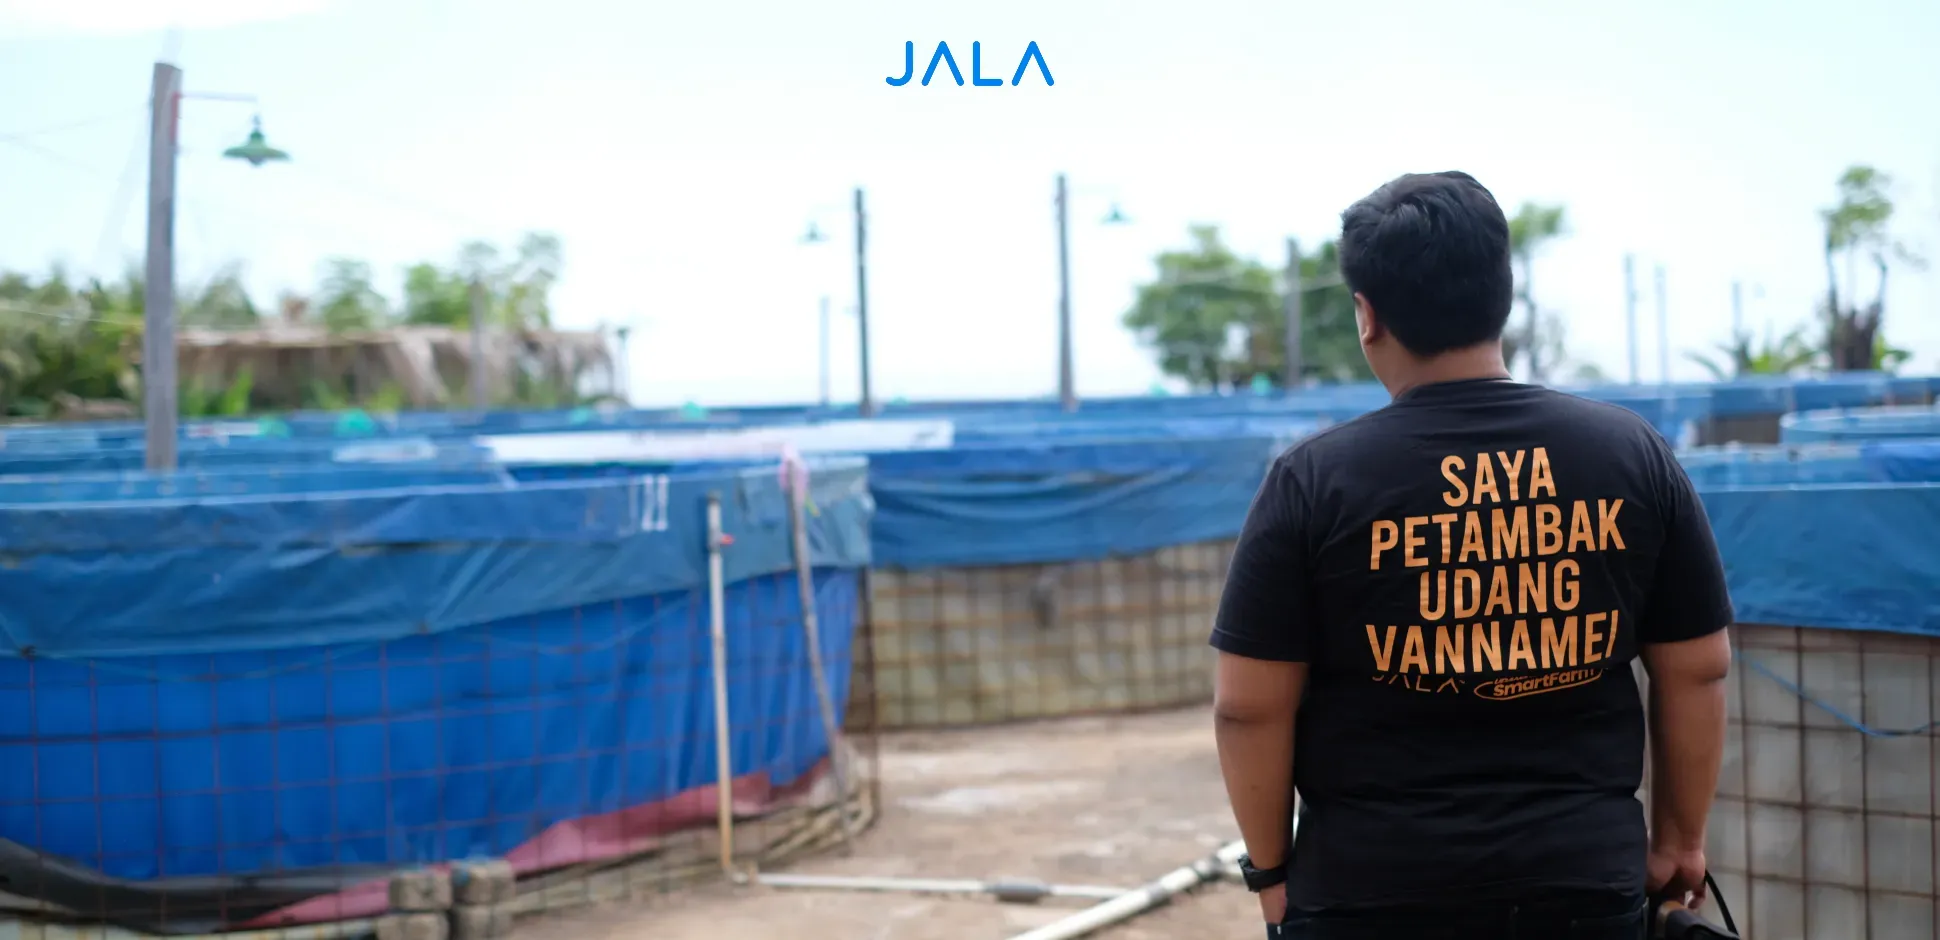
It is not surprising that more and more people now want to start a shrimp farming business, namely by learning how to cultivate vannamei shrimp in small tarpaulin ponds. By utilizing limited land area, tarpaulin ponds can be a practical and cheaper alternative cultivation medium.
Besides practical and cost-effective, what are the other advantages of tarpaulin ponds and how to cultivate shrimp in tarpaulin ponds? Read more in the explanation below.
What are the advantages of cultivating vannamei shrimp in tarpaulin ponds?
Shrimp farmers can consider the many material and financial advantages that tarpaulin ponds have to offer. Here are some of the advantages of tarpaulin ponds for shrimp farmers:
Cost-effective
It can be said that tarpaulin ponds are less expensive than concrete ponds. It makes some farmers with limited resources be able to use tarpaulin ponds as an option for running cultivation.
Quick construction
Tarpaulin ponds typically do not require overly complex construction, and they can be built fast. Thus, instead of having to wait a long period for the construction of ponds, farmers can begin cultivation as soon as the pond is ready.
Easy to clean
The construction and surface of the tarpaulin pond allow farmers to clean it easily at cycle transitions. This will make the work of farmers easier and prevent the emergence of bacteria that affect shrimp health.
Easy to disassemble
This advantage can be applied for tarpaulin ponds above ground level which are made of iron frames. If any occurrences that require the farming location to be moved arise, tarpaulin ponds allow farmers to do this easily.
Compared to other types of ponds such as cement or earthen ponds, tarpaulin ponds can be said to be more economical. The costs required to make a tarpaulin pond are not as much as a cement pond. Meanwhile, earthen ponds are actually economical, but shrimp are at risk of being more easily infected by diseases and pests.
However, there are several things you need to consider when choosing tarpaulin ponds. Since it is made from tarpaulin, this type of pond is prone to leaks if the tarpaulin used is not a high quality tarpaulin. Tarpaulin ponds also get damp easily, meaning you have to be more careful during the rainy season.
Steps for Cultivating Vannamei Shrimp in Tarpaulin Ponds
Before you start cultivating with tarpaulin ponds, it is better for you to know the step by step process. Here's how to cultivate shrimp in tarpaulin ponds:
1. Prepare the Pond Location
The first step in cultivating vannamei shrimp in tarpaulin ponds is choosing the location. Since it does not take up much space, you can place a tarpaulin pond not only on empty land, but it is also possible to make it in your backyard.
When choosing a location, make sure the environment around the pond is near to a water source and not polluted. A pond located near a water source will make the process of adding and changing water easier. Make sure there is also an area to accommodate water disposal and processing of pond waste.
2. Build the Pond
When constructing the pond, choose sturdy basic materials to prevent leaks or damage. You can use a steel frame to properly accommodate the water volume.
You can choose between two different pond designs: rectangular and circular ponds. The rectangular ponds can be arranged in a row to save space, but the dead corners in rectangular ponds can cause the mud to be less centralized. Circular ponds, on the other hand, allow for easier aeration, but cannot be arranged close together.
Apart from the design, tarpaulin ponds can be classified as above-ground or below-ground depending on where they are built. Above-ground ponds are built in areas higher than the farm's ground level, while below-ground ponds are built by excavating the soil in accordance with the pond volume requirements.
Furthermore, the process of creating an above-ground tarpaulin pond, as described by Setyowati et al. (2023), is as follows:
- Clean the area that will be used to build the pond from pebbles and other sharp objects.
- Level the pond ground and make it higher than the surrounding ground area.
- Open the pond's iron frame and adjust the diameter or area as needed.
- Tie the ends of the iron frame together using wire.
- Install the outlet pipe in the middle of the tarpaulin pond and connect it to the outlet pipe outside the pond for a water drain system.
- Apply cement on top of the pipe.
- After the cement has dried, cover it with tarpaulin.
Meanwhile, here are the steps to build a below-ground tarpaulin pond:
- Create a pond plan that specifies the dimension and volume of the pool, such as 2x3x1 meters.
- Place bamboo stakes around the pond.
- Make a hole in the ground with a hoe according to the pond dimension.
- Create a water inlet and outlet using PVC pipe.
- Put a tarpaulin in the pond, for example if the size of the pool is 2x3x1 meters, the area of the tarpaulin used should be 4x5 meters.
3. Get Rid of Pests
Generally pests do not have a direct negative impact on cultivated shrimp. However, they can be carriers of bacteria or viruses that cause shrimp disease. Thus, make sure the tarpaulin pond area is free from pests.
You are advised to implement biosecurity practices. This includes sterilizing the pond and pond area as well as providing hand washing stations for workers and people who visit the pond area.
4. Fill the Pond with Water
Sometimes a new tarpaulin pond construction leaves a plastic or cement stench. It is important to get rid of the stench before adding water to the pond so as not to disturb the shrimp's convenience. To do this, fill the pond with water and leave it for 1-2 weeks. Once the stench of plastic or cement has subsided, dispose of the water and fill the pond with fresh water, then let it sit for a few days. After that, dispose of the water again and fill the pond with water for cultivation.
5. Stock the Vannamei Shrimp Fry
Once the pond is filled with water and ready to use, you can start stocking the shrimp fry. It is best to stock the fry when the temperature is low, for example at night or at dawn. The fry should also be floated in a plastic bag from the hatchery before being released into the pond. This way, the fry can adapt to the temperature of the pond water and air in the farm.
Conclusion
Tarpaulin ponds can be an option for those who want to cultivate shrimp more in a cost-effective and practical way. The five steps below outline how to cultivate vannamei shrimp in tarpaulin ponds:
- Prepare the pond
- Build the pond
- Get rid of pests
- Fill the pond with water
- Stock the shrimp fry
Once the tarpaulin pond is ready to use, start cultivating according to appropriate SOPs and sustainable cultivation practices. Make sure to practice proper cultivation management. You can do this by regularly recording and monitoring cultivation conditions on JALA App, which is #HeretoHelp your cultivation.
With JALA App, you can record more than 40 cultivation parameters and monitor farm conditions in a visual chart. From wherever at any time, you can access the data in the palm of your hand. Additionally, JALA App's insights will assist you in making better-informed cultivation decisions.
Let's cultivate more productively and efficiently with JALA App! Download now on Google Play Store or App Store.
References
Keuntungan Menggunakan Kolam Terpal untuk Budidaya Udang dan Ikan | Tambakmilenial.com
Setyowati, D. N., dkk (2023). Assistance for The Construction of Tarpaulin Pond for Vannamei Shrimp Cultivation to The Community of KuranjiVillage, West Lombok. Jurnal Pengabdian Magister Pendidikan IPA, 6(1), 394–397. https://doi.org/10.29303/jpmpi.v6i1.3366