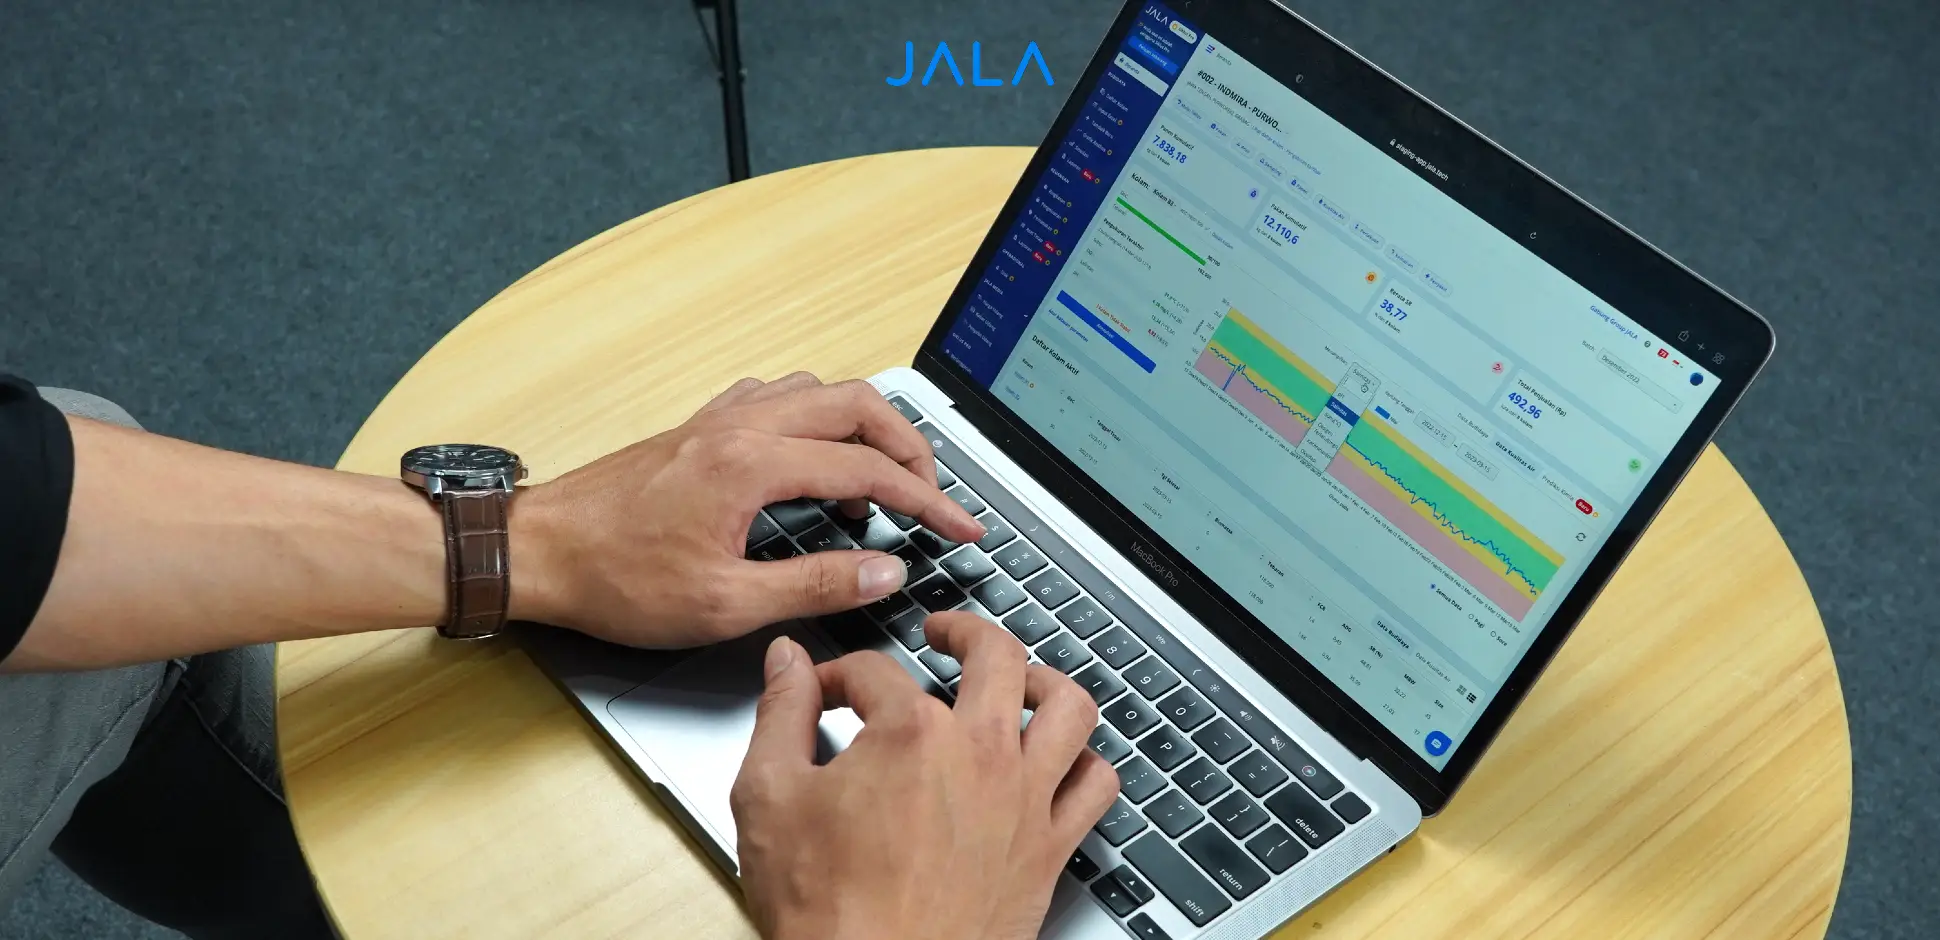
At the start of this 2024, JALA App brings another new update to help users have a more convenient cultivation experience.
Some of you may be familiar with the hassle of recording many financial transaction details at once. Acknowledging that issue, JALA has released the Import Financial Transaction Function on the web version of JALA App.
Users of JALA App can now import their financial transaction data with the template provided by JALA App and upload it into JALA’s system. JALA App will automatically record the uploaded data.
Thus, users no longer have to deal with the exhaustive process of moving financial records from other systems such as Excel to JALA App’s financial menu.
Financial Transactions that Can Be Imported
Here are the types of financial transactions that can be imported:
Outgoing Transactions, such as:
- Operational expense transaction
- Inventory purchase transaction (Feed, chemicals, and probiotics purchase)
- Fry purchase transaction
Incoming Transactions, such as:
- Harvest transaction
- Other income transaction
- Inventory income and sales transaction
Users can also customize every transaction account and sub-account in the system before importing. With a single template, all data transactions, both outgoing and incoming, can be imported.
How to Use the Financial Transaction Import Function
The import function can be found in the expense and income section of the financial menu on JALA App web. Follow these steps to use the import function:
- Open the Expense or Income page.
Click on the Import button beside the Add Record button.
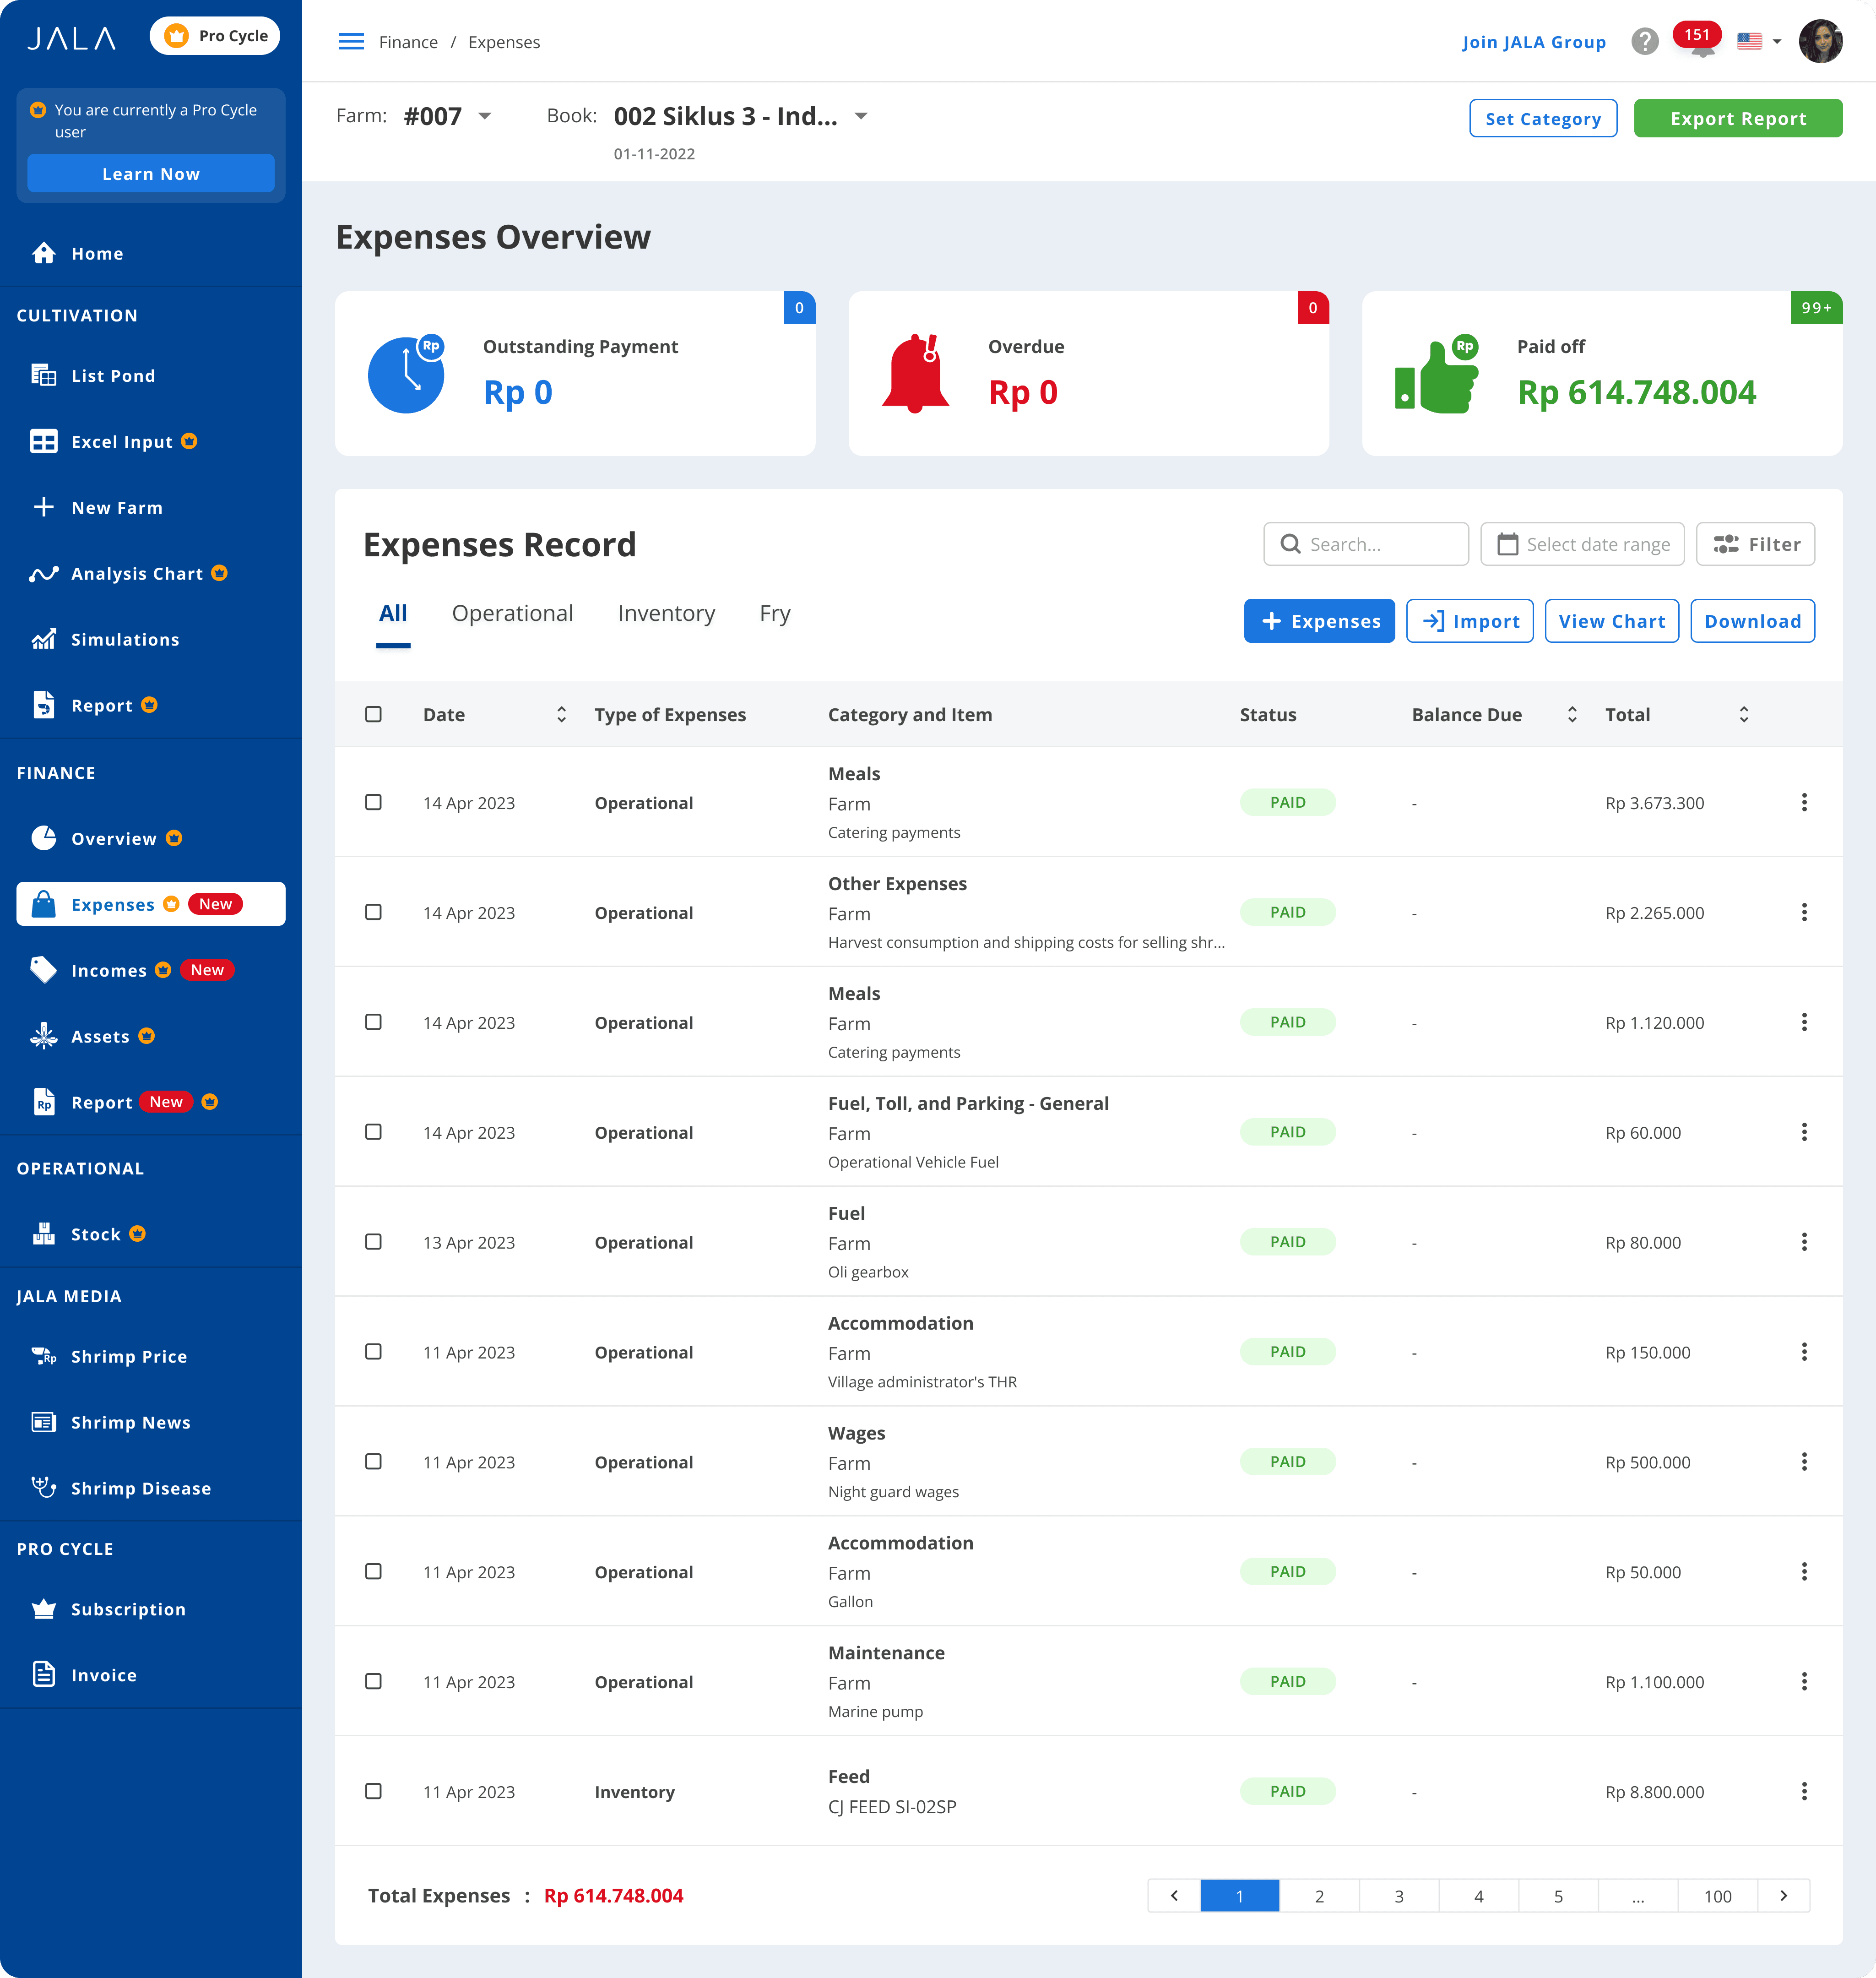
You will be directed to the Import page. This page contains several information to assist you.
Before importing, make sure that the account and sub-account categories are set according to your needs. Addition of account category can only be done through the application system (You cannot add it manually on the provided template). For easier addition of account and sub-account categories, click Farm Settings to create or adjust your account.
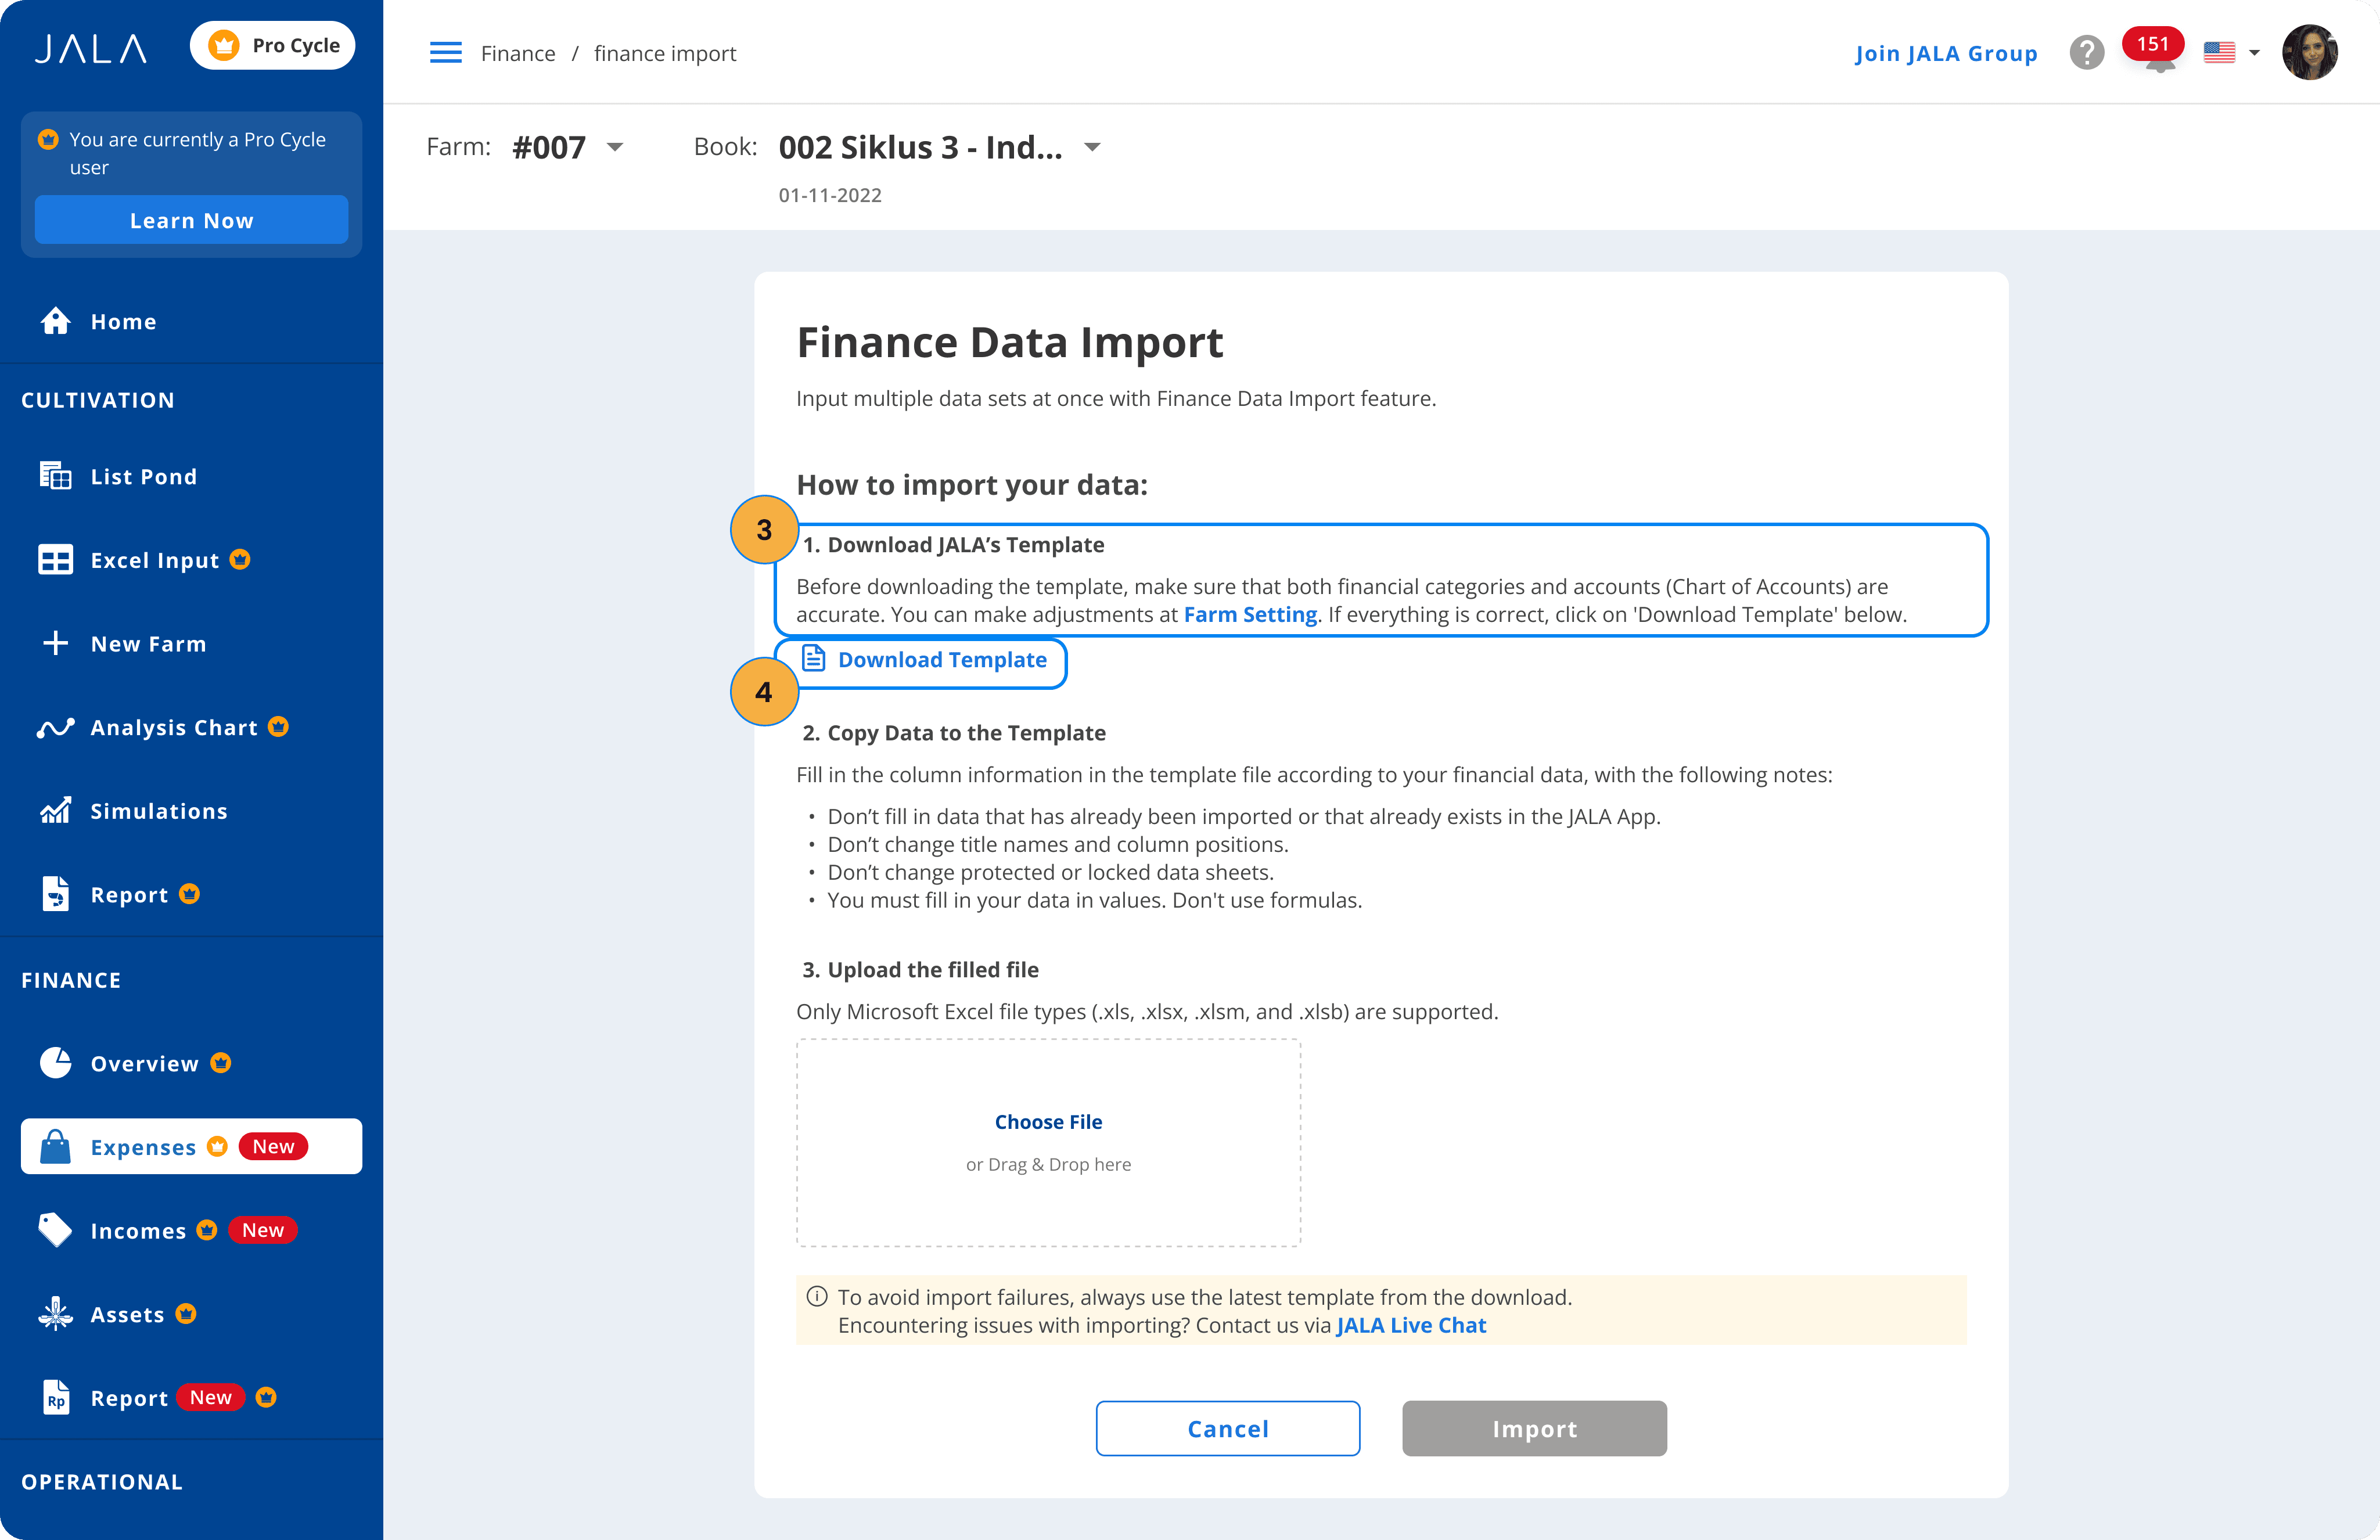
Download the import template by clicking the Download Template button.
After the template has been downloaded, open the template file and input the data you want to import. Make sure to only input data that is suitable with your chosen template from JALA App.
After inputting the data in the template, return to the Import menu and click on Choose File to upload it.
After the file has been uploaded, click on the Import button.
You will get this notification if the data import is successful.
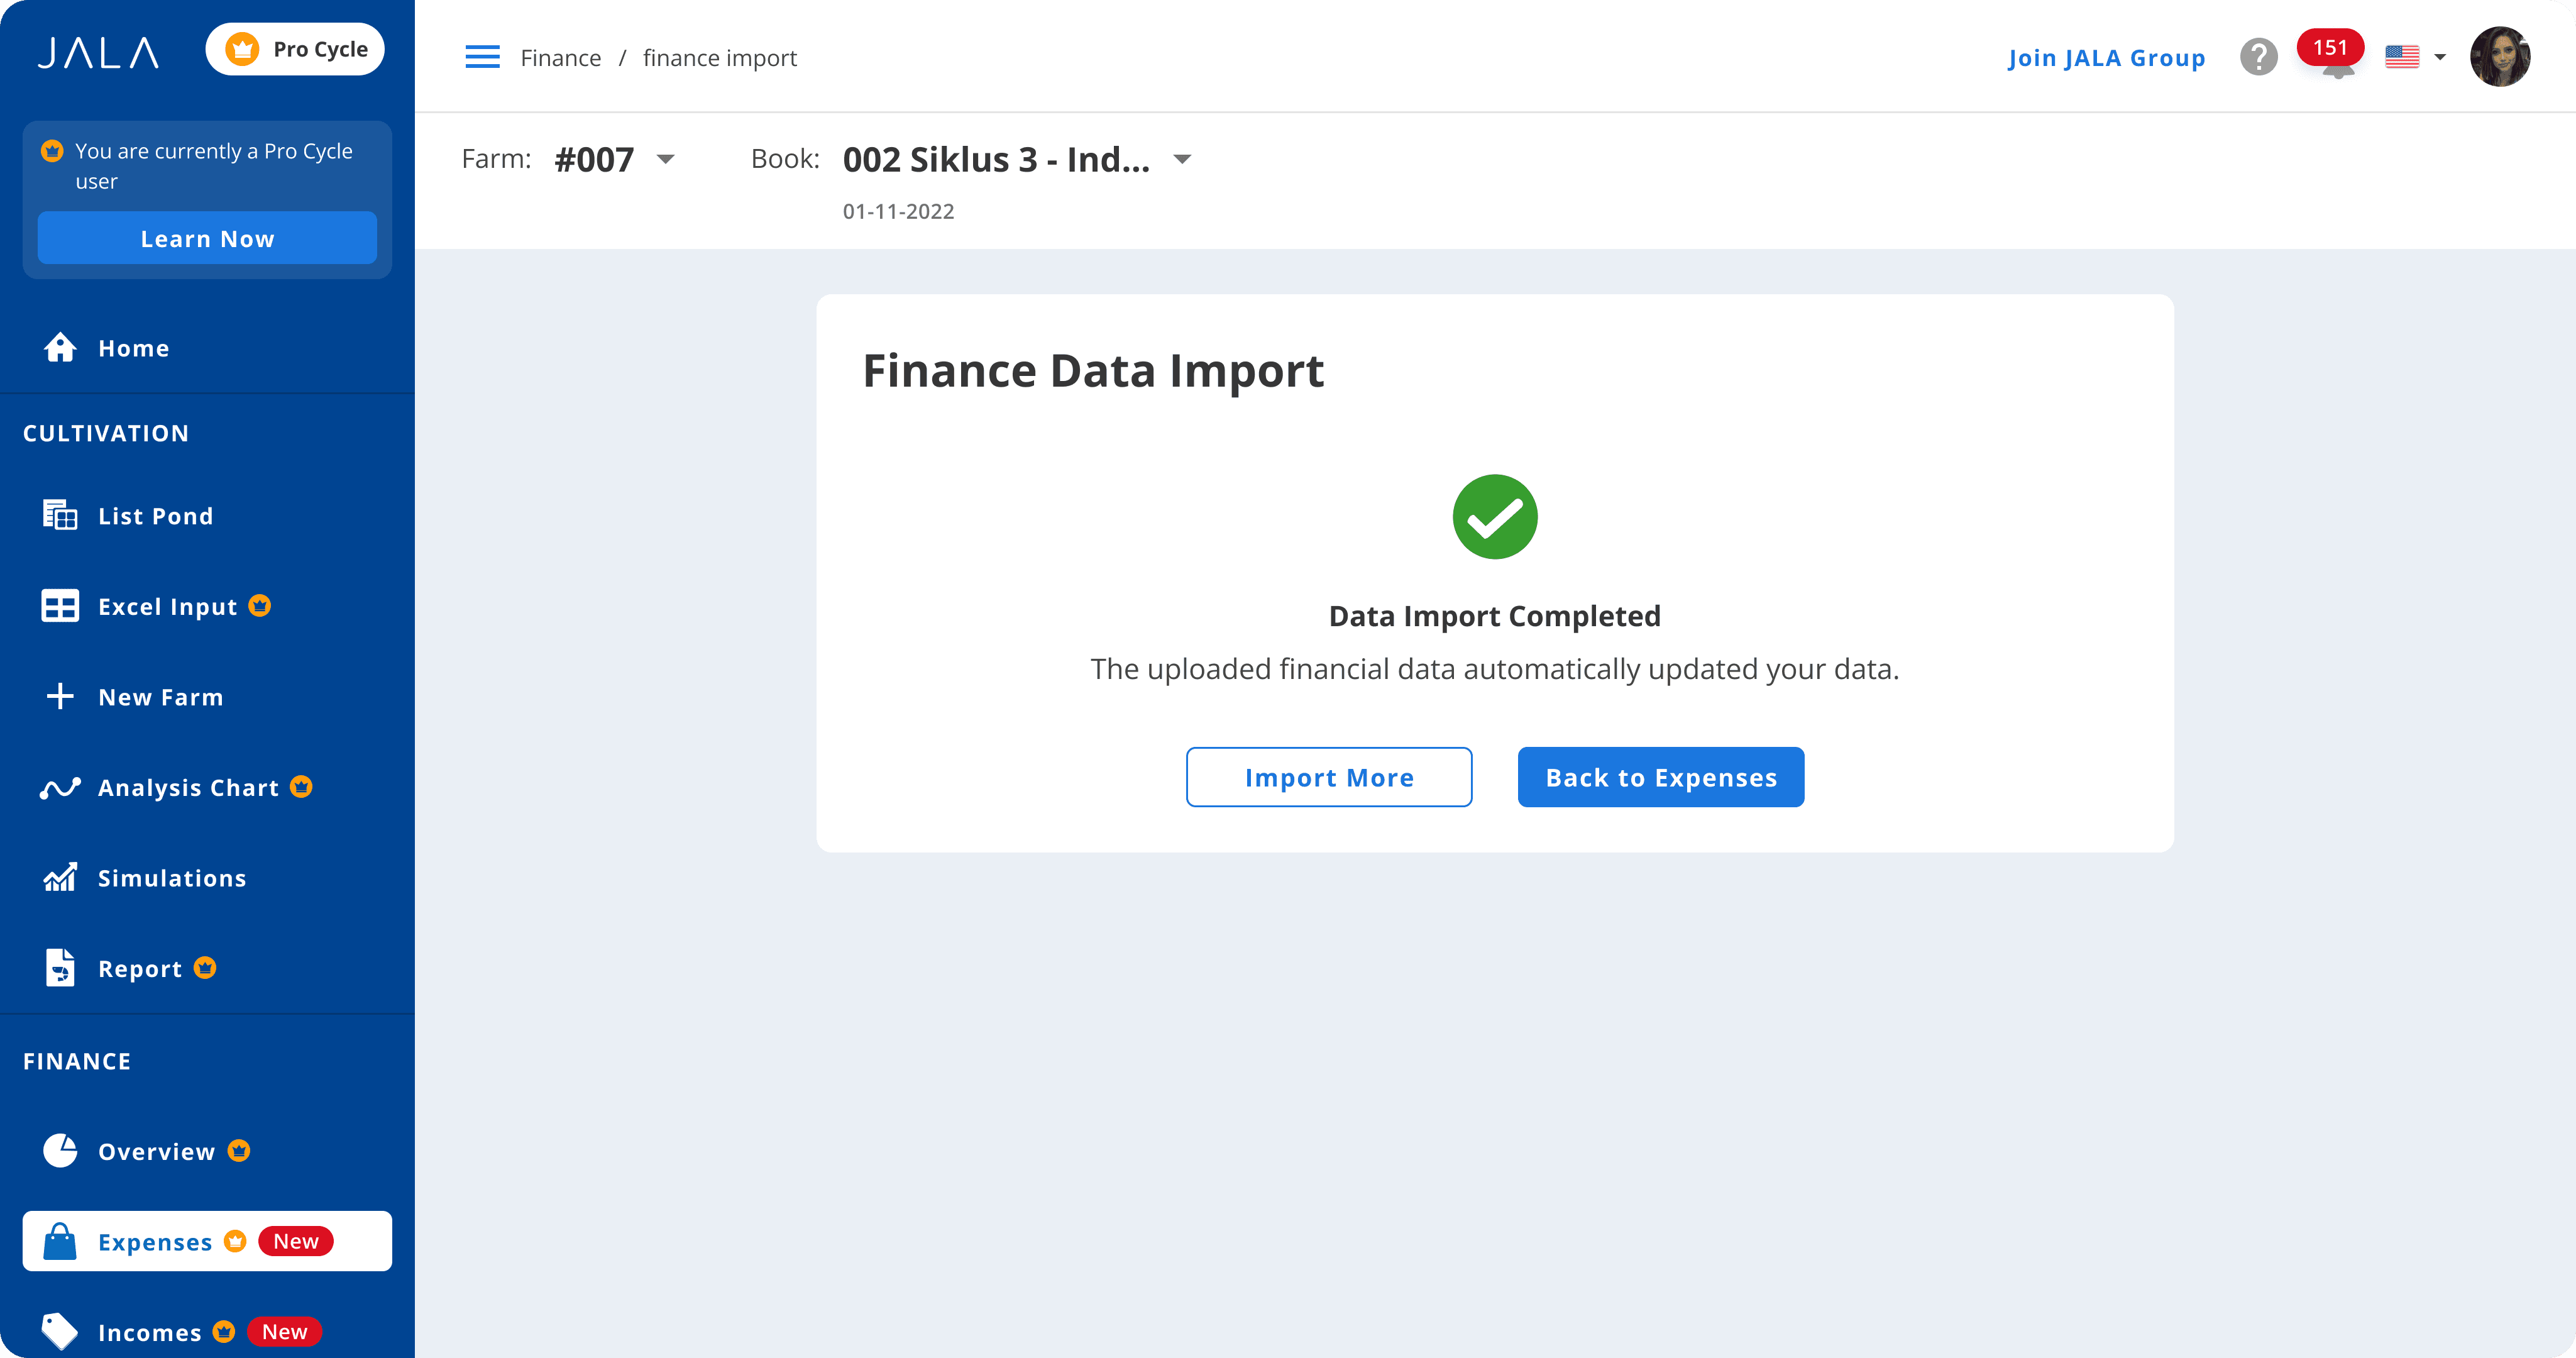
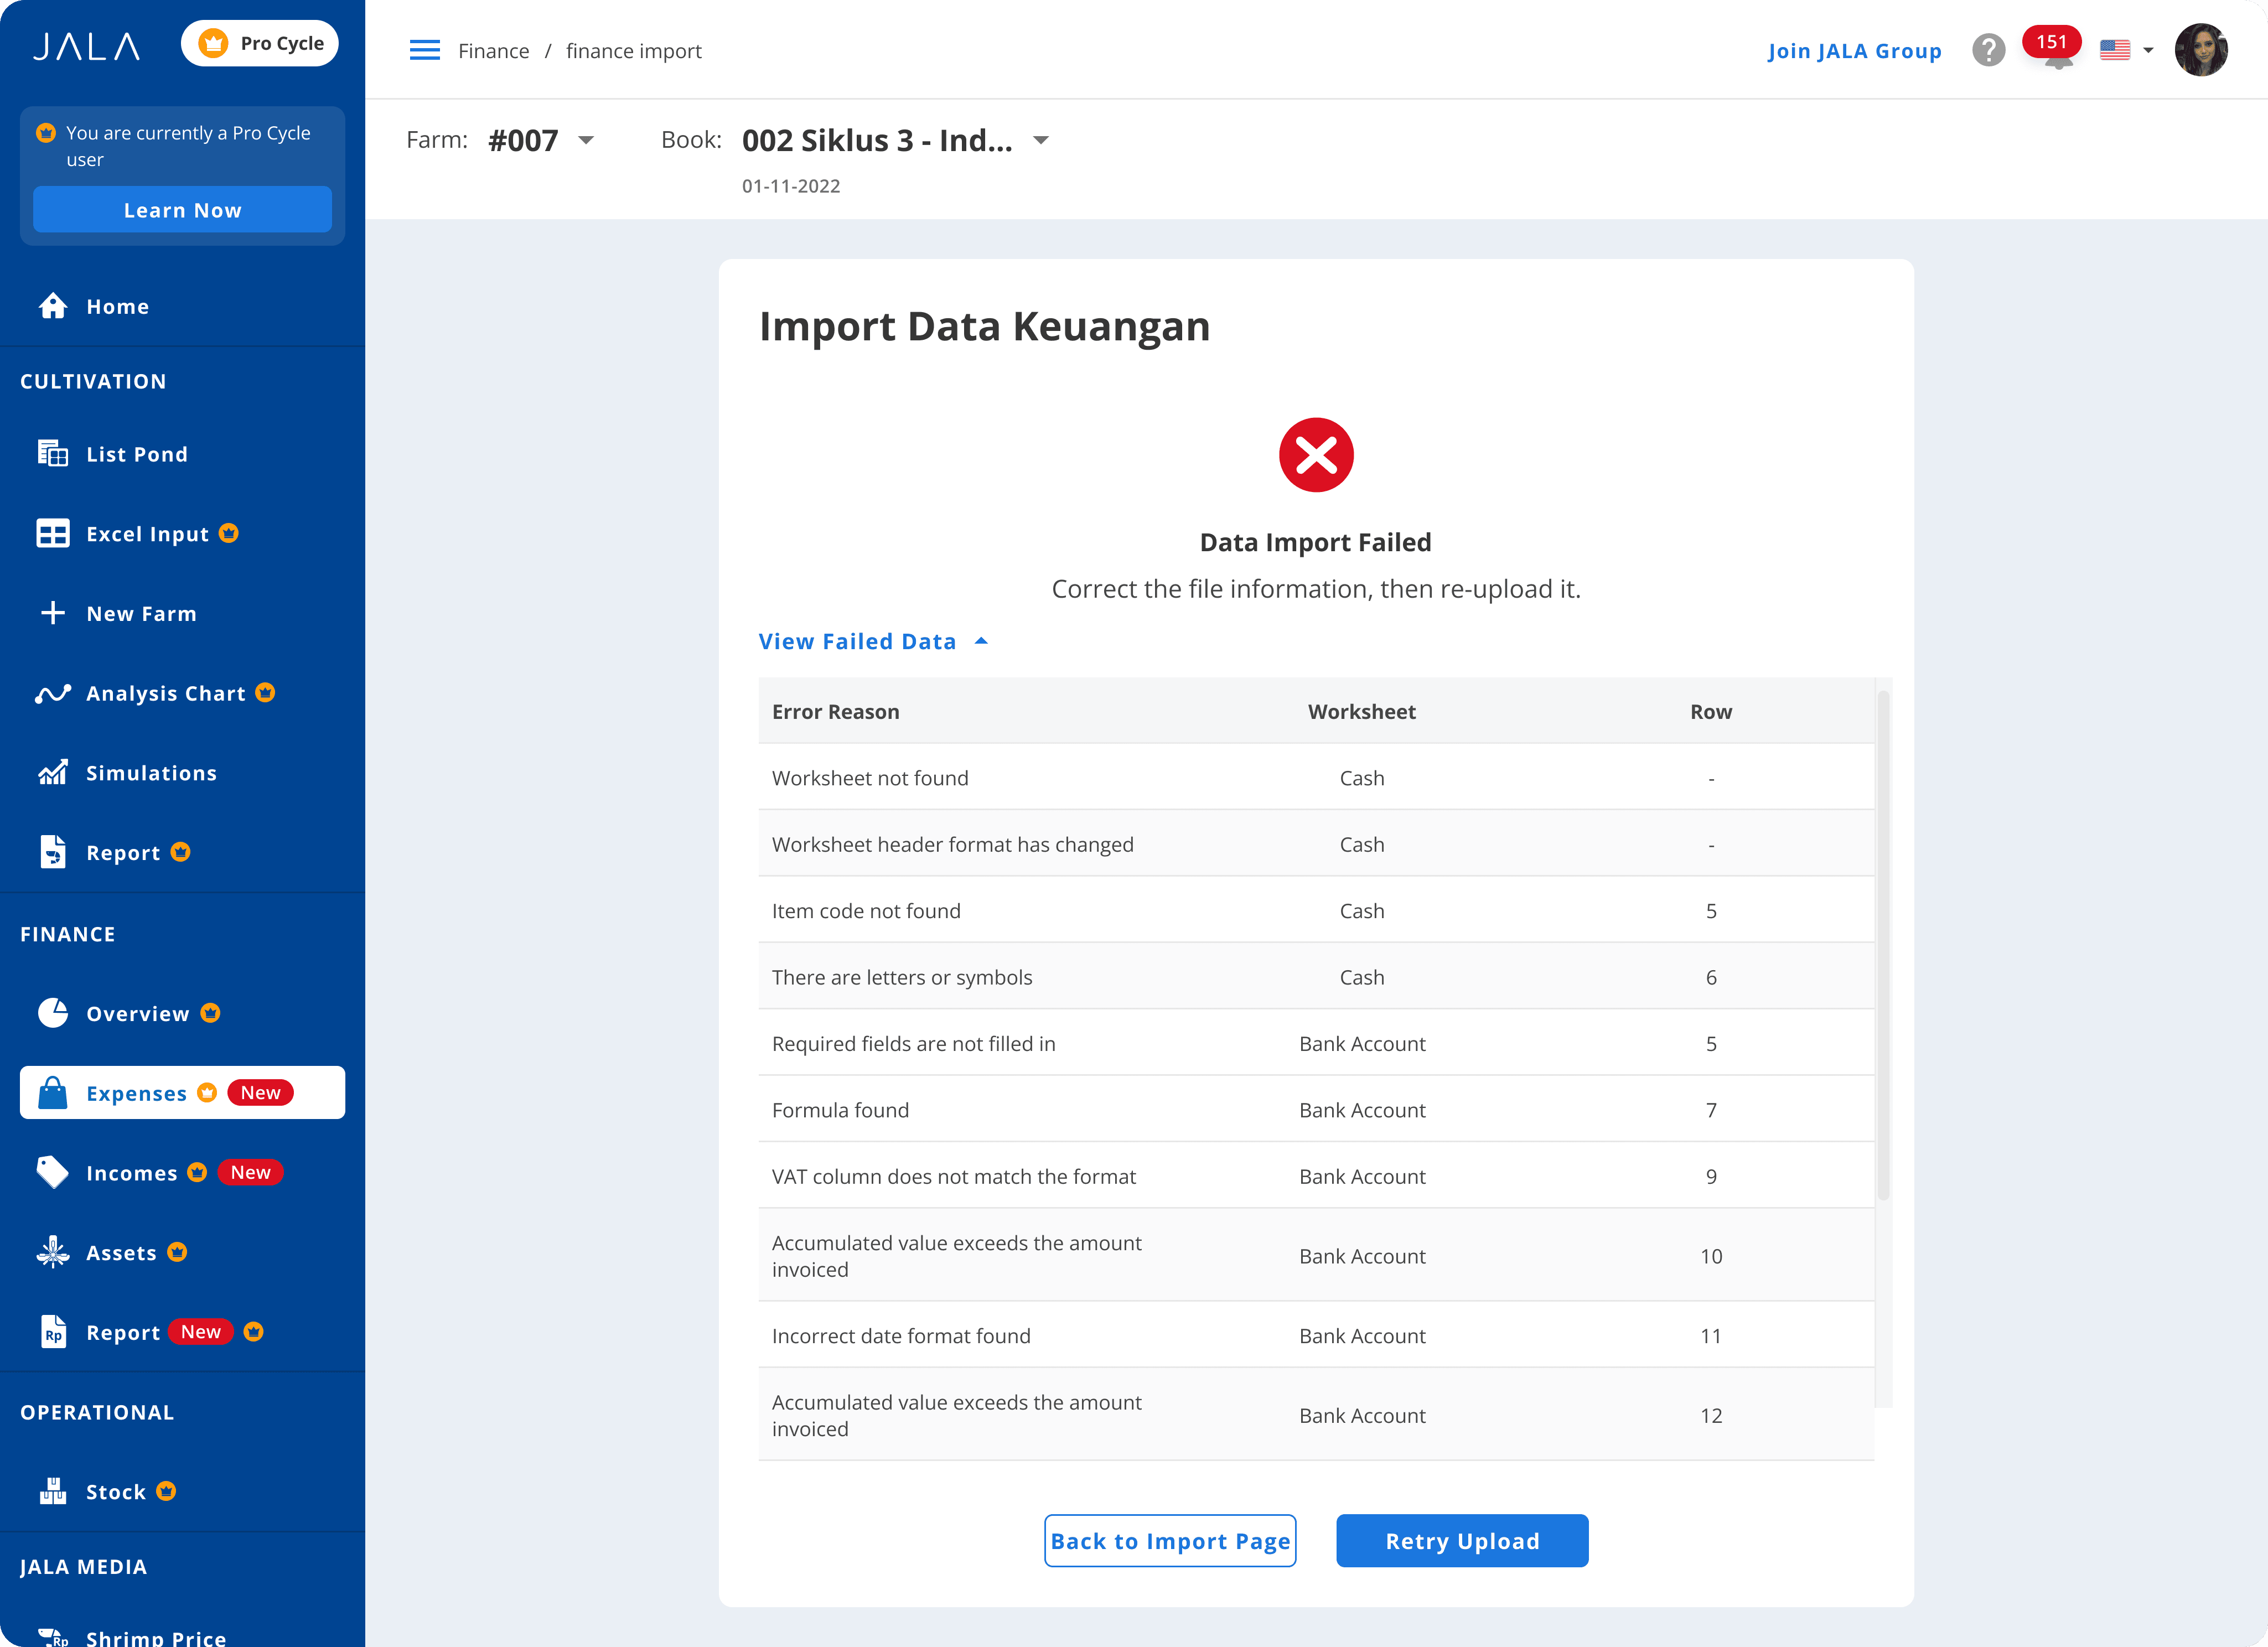
If you get this notification instead, check the explanation about the reason behind the import failure and make the necessary adjustments before reuploading.
With this update, we hope users can enjoy more convenience in managing and monitoring their farm finances, ensuring that every transaction is well recorded. Upgrade your account to PRO Cycle to make the most of this function!


